Last Updated on November 5, 2022 by Tech Questions
Are you considering upgrading your Acer Aspire Gx-781 power supply? If so, there are a few things you need to keep in mind to ensure that the process goes smoothly. First, it is important to choose the right replacement power supply.
Next, you will need to install the new power supply properly. Finally, you should test the new power supply to make sure it is working correctly.
- Locate the existing power supply unit (PSU) within the Acer Aspire GX-781 gaming desktop system.
- Carefully remove the PSU from its housing by disconnecting all relevant cables and unscrewing any retaining screws.
- Choose a replacement PSU that is of compatible wattage and dimensions for the Aspire GX-781 chassis.
- Install the new PSU in the same manner as the old one was removed.
- Connect all relevant cables to the new PSU, including those for powering up any attached peripherals such as monitors or speakers.
- Once everything is properly connected, screw the PSU back into place within the chassis.
- Power on the Acer Aspire GX-781 system and ensure that it boots up successfully and all attached peripherals are functioning properly before proceeding to use it as normal.
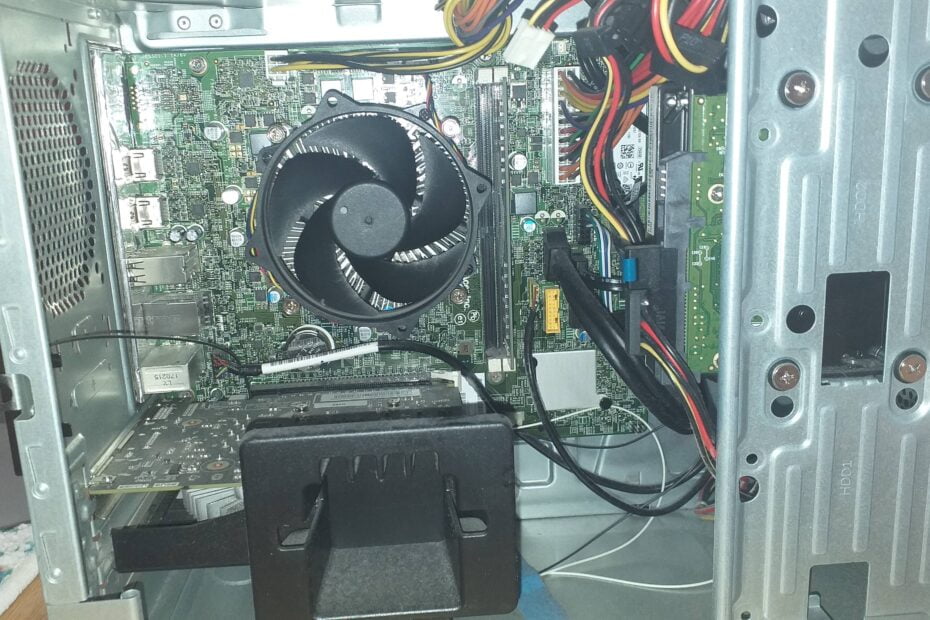
Upgrading Acer Aspire Desktop with ASUS TUF GeForce GTX 1650 video cards with EVGA power supply
How Do I Upgrade My Acer Aspire Gx-781 Power Supply?
If you have an Acer Aspire GX-781 and want to upgrade your power supply, here are a few things to keep in mind. First, check what the maximum wattage output of your current power supply is. You’ll need to find a new power supply that has at least that much wattage.
Secondly, make sure that the new power supply will fit into your computer case. Thirdly, consider what other upgrades you might want to make to your system while you’re replacing the power supply – for example, a higher-wattage PSU may require different cables or connectors than your current one. Finally, once you’ve selected and installed your new power supply, be sure to test it thoroughly before closing up your computer case!

Acer Aspire Gx-781 Upgrade
Acer Aspire Gx-781 Upgrade The Acer Aspire Gx-781 is a great computer for anyone looking for a powerful and stylish machine. This all-in-one PC has a large 27″ display that is perfect for gaming or working on creative projects.
The audio is powered by Dolby Home Theater v4 and the visuals are stunning with NVIDIA GeForce GTX 1050 graphics. Under the hood, this machine is packed with an Intel Core i7-7700HQ processor, 16GB of RAM, and a 256GB SSD. All of this power makes the Gx-781 a great choice for gamers or anyone who needs a fast and reliable PC.
If you are looking to upgrade your Acer Aspire Gx-781, there are a few things you should keep in mind. First, if you plan on adding any new hardware components, make sure they are compatible with the motherboard. Second, when upgrading the RAM or storage drive, be sure to get the correct type of memory or SSD that is compatible with your model of computer.
Third, it is always recommended to create a backup of your data before making any changes to your system. fourthly pay attention to detail when following instructions provided by the manufacturer as one small mistake could render your device inoperable. Lastly, have patience when performing any upgrades as rushing through the process could lead to errors that could be difficult to fix.
By following these simple tips, you can successfully upgrade your Acer Aspire Gx-781 and enjoy all the benefits of a faster and more powerful PC!
Acer Gx-781 Motherboard
Acer Gx-781 Motherboard. This is a high quality and durable motherboard that offers great features and performance. It supports the latest processors and has plenty of room for expansion.
The board is also equipped with advanced cooling technologies to keep your system running cool and stable.
Conclusion
If you have an Acer Aspire Gx-781 and want to upgrade the power supply, there are a few things you need to know. First, the stock power supply is only 250 watts, so you’ll need to get a new one that’s at least 400 watts. Second, make sure you get a modular power supply, as it will make installation much easier.
Third, don’t forget to connect the 4-pin ATX12V connector to the motherboard; if you don’t, the computer won’t start up. Finally, once everything is plugged in and screwed tight, flip the switch on the back of the power supply to turn it on.
I’m a tech enthusiast with a passion for writing about all things tech-related. I’m always on the lookout for the latest and greatest technology, and I love sharing my findings with others. I have a keen mind for computer networking and troubleshooting, and I’m always happy to help others fix their tech problems. In my free time, you can usually find me tinkering with computers or building new networks.